
I hardly use this blog anymore - with the exception of when I want the Pinterest world to see!
I saw, on Pinterest (or course), a posting regarding updating and old door and turning into a functional art piece!
So, let me start you from the beginning...
Finding a Door: probably easy right - well, let me caution you in saying, pick a "nice" door that hasn't been a thousand times - but the old charm is SO nice...but that sanding?? I found mine at a salvage, old wood scrap place.

Preparing the Door: So the preparation of the door took the MOST time, but I wanted to do it right. I was originally going to just paint it...and although, that would have saved me a lot of time, my husband said...why don't you just stain it. Then that took me down a completely different rabbit hole.
I washed it - it was pretty grimy from being at the salvage barn yard for probably a decade.
I washed it some more - basically I needed a pressure washer to get the peeled paint to loosen up. I used a liquid paint thinner first...and it did an OK job, but a lot of paint remained.
I didn't own a sander, but I certainly do now! I started off with like 100 grit sandpaper...and didn't realize until late in the game, I really should have started with the lowest possible. The door was OLD...and had been through a lot...but had wonder character. Since it was old, the thoughts of lead paint crossed my mind a bit...but I kept on. After finally removing most of the paint...the metal/cooper door sidings (we now use plastic and rubber)...most of the tiny nails holding these in place...I was ready to stain.

Staining: Word of caution before you begin staining...make sure ALL the paint is off...because stain doesn't cover paint! I had to learn this the hard way - and re-sand and paint again. What I also learned was I could use steel wool to remove some of the stain in a "rustic" manner before it dried too much. Loved that effect and did it all over the door.
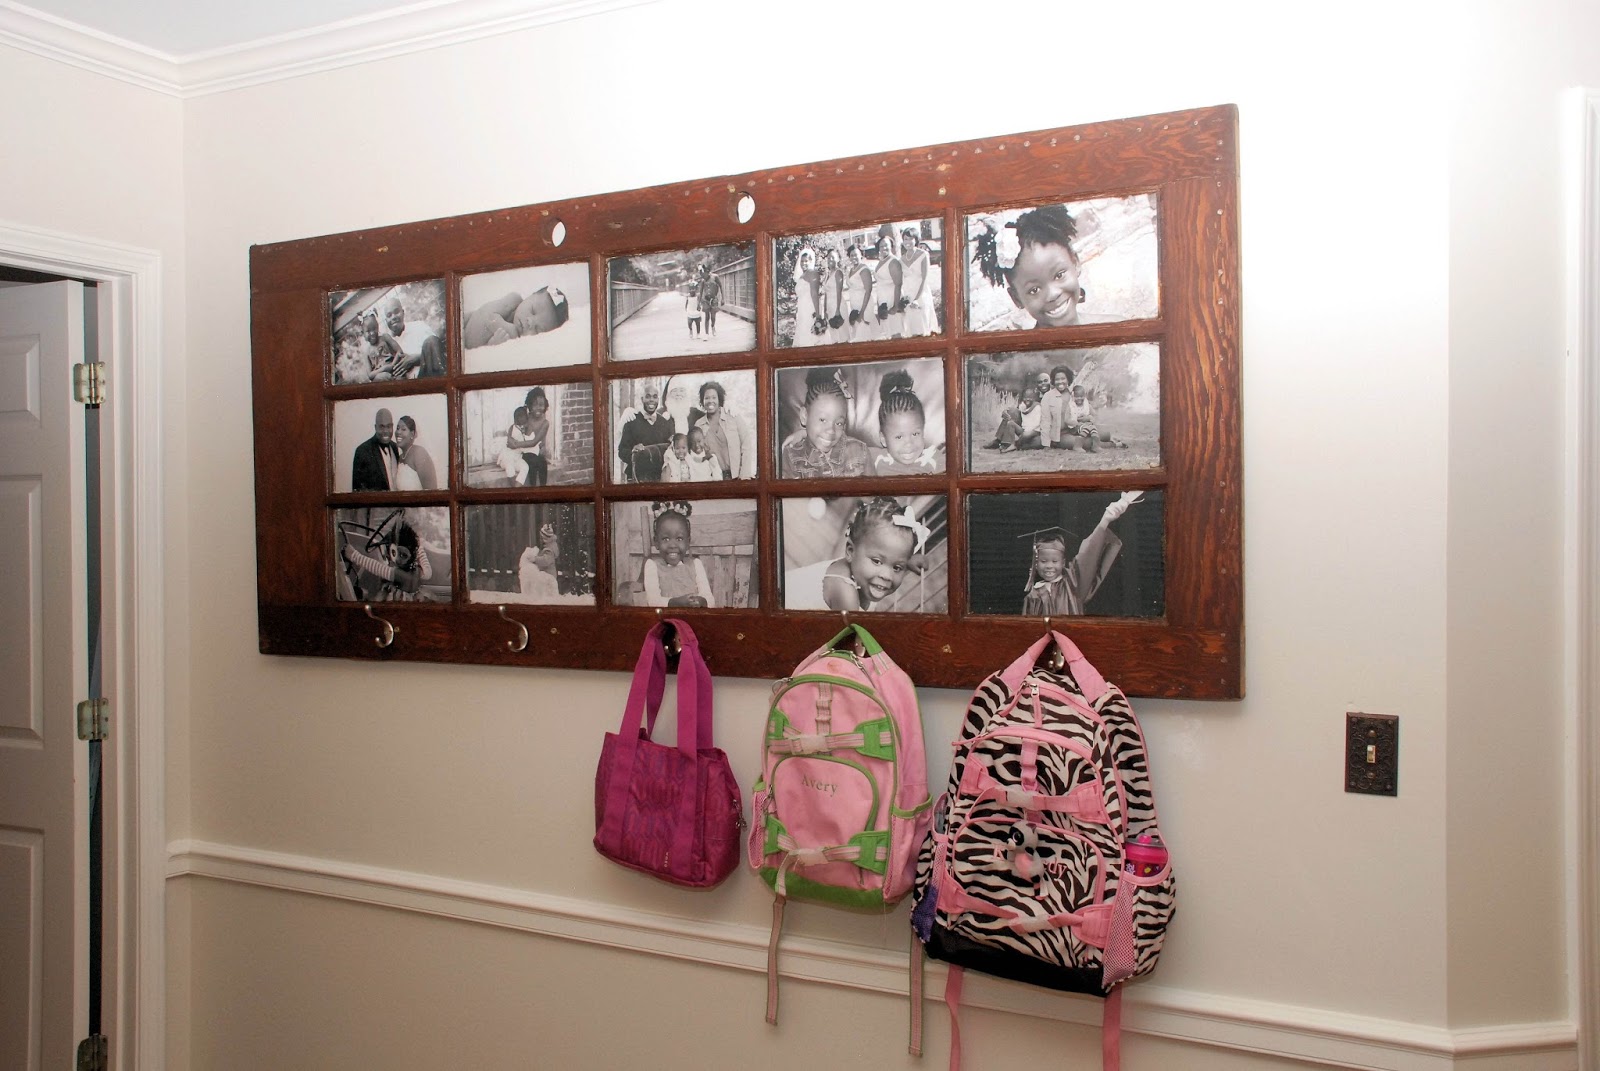
Pictures: The windows in this door were and odd size, and I ordered as close as I could get which was 8x12. Even then, I was about a 1/2 inch short. I compensate for this, I applied black, bulletin board paper across the entire back as a background. You can hardly notice. Also, my pictures are black and white, to disguise. I used sharp prints...but have used arts cow in the past and they tend to have great prices.
Mounting: This is probably the most challenging aspect - measure, measure, measure and drill once! I picked a wall in my kitchen nook. I also added hooks to the bottom for the kids coats/bags, etc. So like a new age mud room...yeah...lol.

I love the results and wish you the very best of luck and sending encouragement if you decide to try this out!


0 comments:
Post a Comment